

This craft is not only cute and fun to do but it is also affordable! Almost all of the supplies can be found at the Dollar Tree. If you do not live near a Dollar Tree you may be able to find items at other stores that you can use or you may be able to use items that you already have. Just be creative!

These are the supplies that you will need. If you don’t have the wooden bunnies you could cut out your own bunny using some scrapbook paper or fabric. You could also use a picture frame without the glass instead of the canvas.


If you have the stretched canvas the first step is to remove the canvas from the wooden frame.


Now it is time to begin working on the frame. I stained my frame but you could paint it or leave it natural. You will need to stain or paint all of the sides except the side with the staple holes, that will be the back. Make sure that if you use stain that you wipe off any excess with a rag. Set aside to dry.

While the frame is drying you can cut your canvas. You will need to cut along the seam so that you have a flat rectangle when you are done.


When your frame is dry enough to work with you are going to use your glue (I used hot glue) to attach the canvas to the back of the frame (the side with the staple holes). The canvas is white on one side and a natural, kind of an oatmeal color, on the other side. I used the natural color.


Now it is time to make your bunny pretty. I used a pretty floral napkin that I had but if you have not used Mod Podge much before I would use scrapbook paper instead because it is thicker and easier to work with. If you are using scrapbook paper you will need to trace the bunny onto the paper and cut it out. I decided to Mod Podge the napkin before cutting out my bunny because it made it easier to cut. Once you have your bunny cut out you are going to brush a thin layer of Mod Podge to the wooden bunny shape. Next, lay your bunny cut out on top of the wooden piece and use your fingers to gently smooth out any air bubbles. You will then need to apply another thin coat of Mod Podge to the top of the paper. Set aside to dry.


Now the fun part! You can add any embellishments that you want. For my frame, I used a cute little twine carrot that I found at the Dollar Tree. I put one in the left hand corner, but you can use as many as you want wherever you want. I also added a little bow to the carrot and one by the bunny’s ears along with a cute little rosette tail. When your bunny is all decked out, apply some glue on the back and place it on your canvas. I put mine in the center but you can put yours anywhere that you want. I decided to put a piece of jute twine on the back so that I could hang it. You could use ribbon or just leave it the way it is. This is the time to be creative!
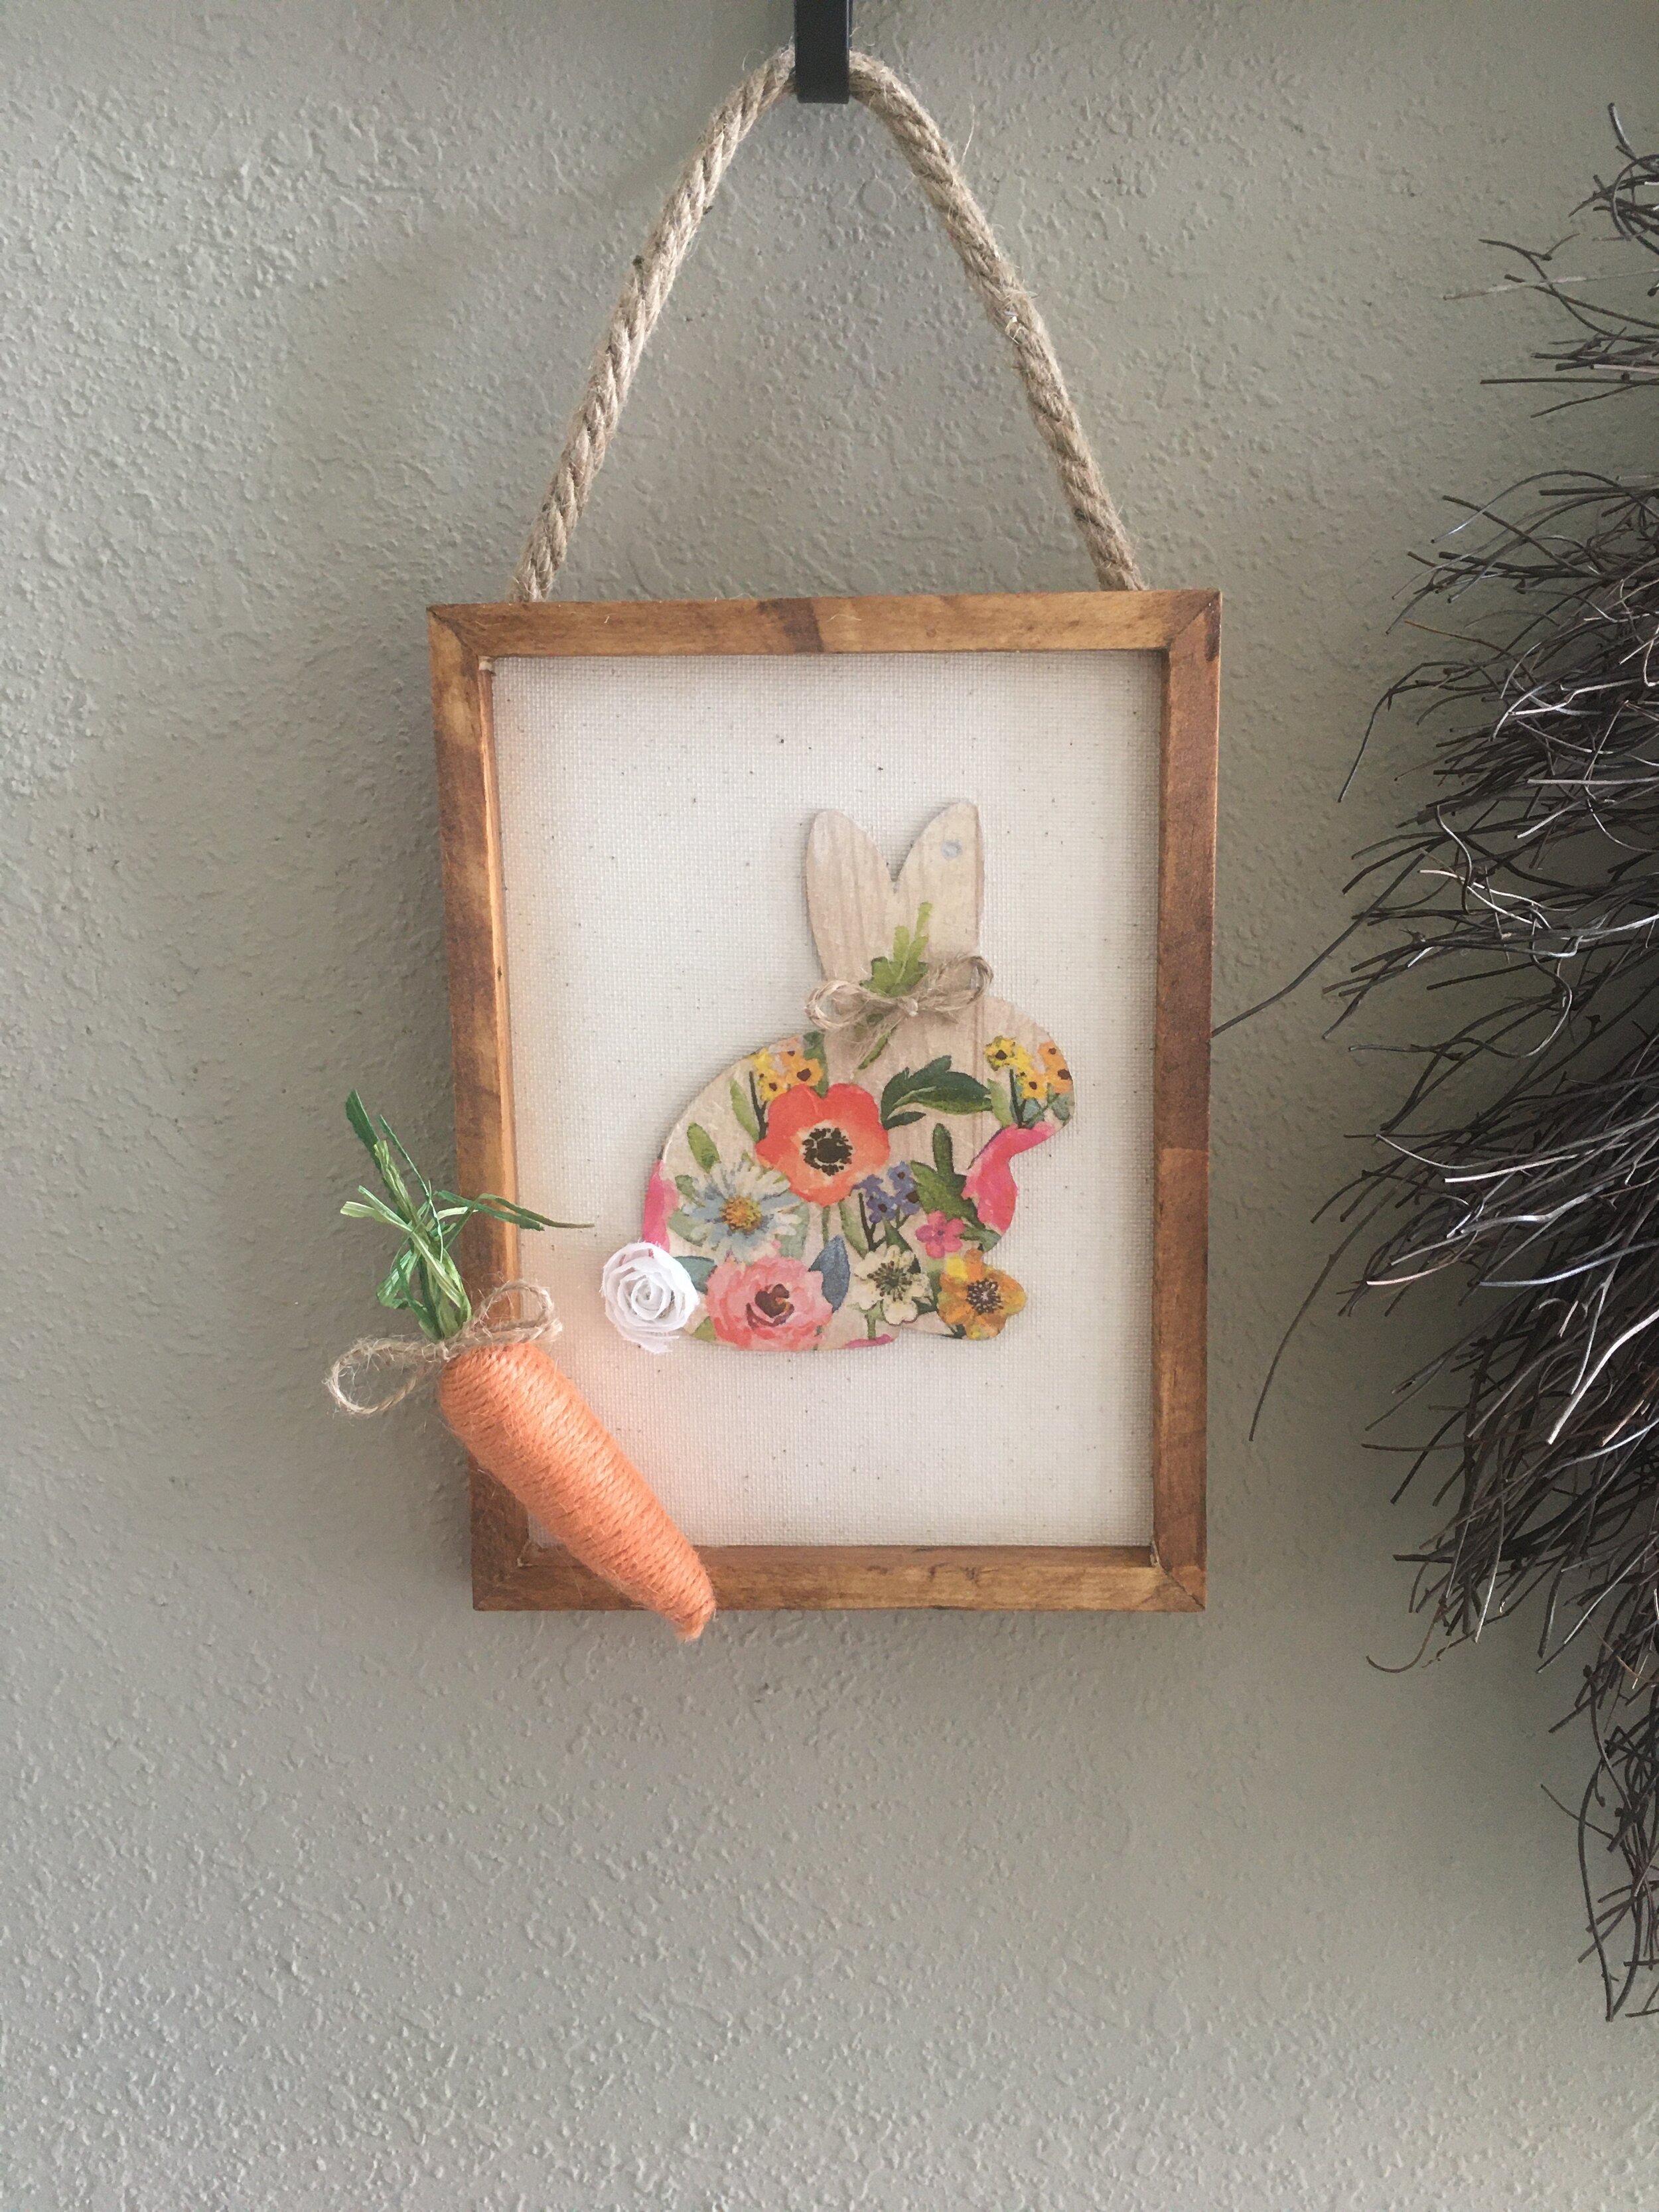
I just loved how it turned out!

If you liked this cute spring craft, click the photo above to see a video of my sister and me making it! While you’re there be sure to like and follow for more fun projects!